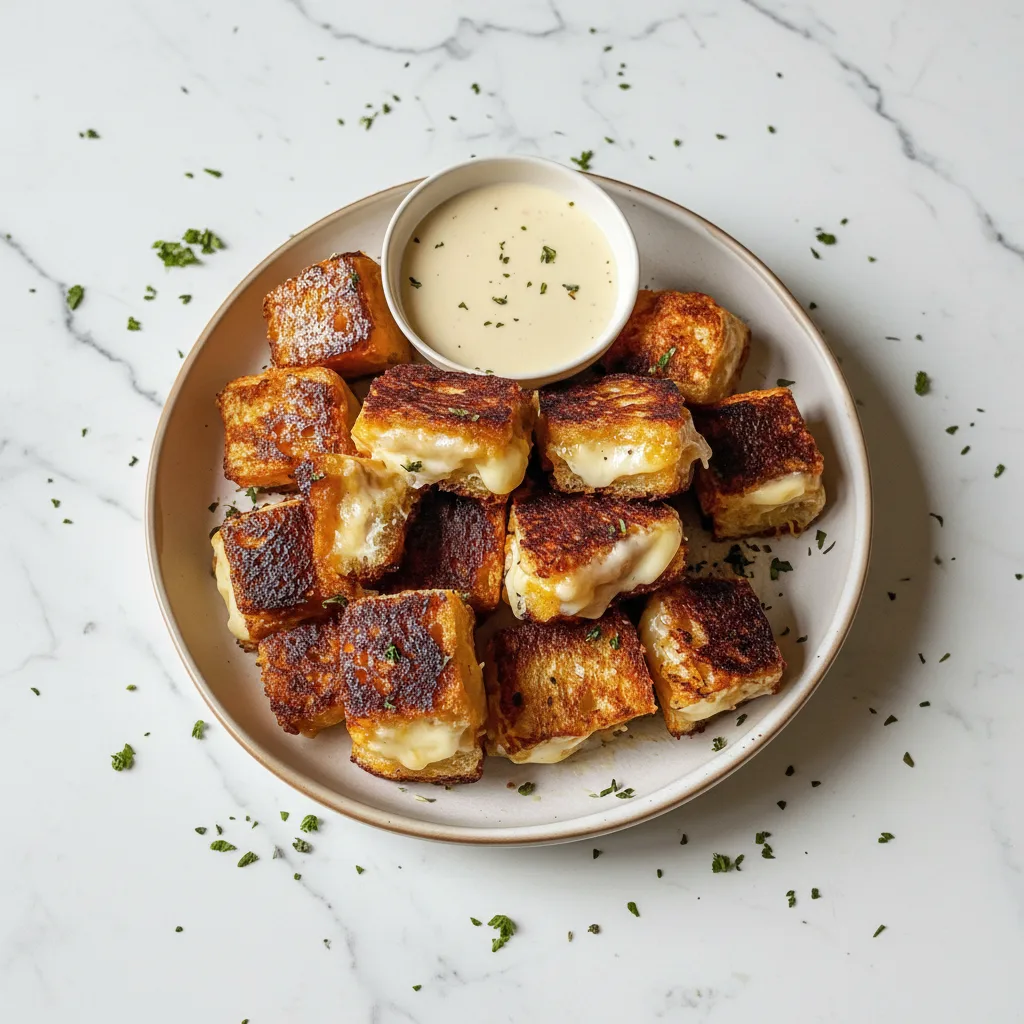
There’s magic in simple recipes, and this 15-minute Hawaiian roll grilled cheese proves it. Transform ordinary nights into memorable meals with sweet rolls turned into melty masterpieces.
Adults appreciate the upgrade from standard grilled cheese, while kids love the fun twist on familiar flavors. Better still, you’re just minutes away from warm comfort food – no culinary experience needed.
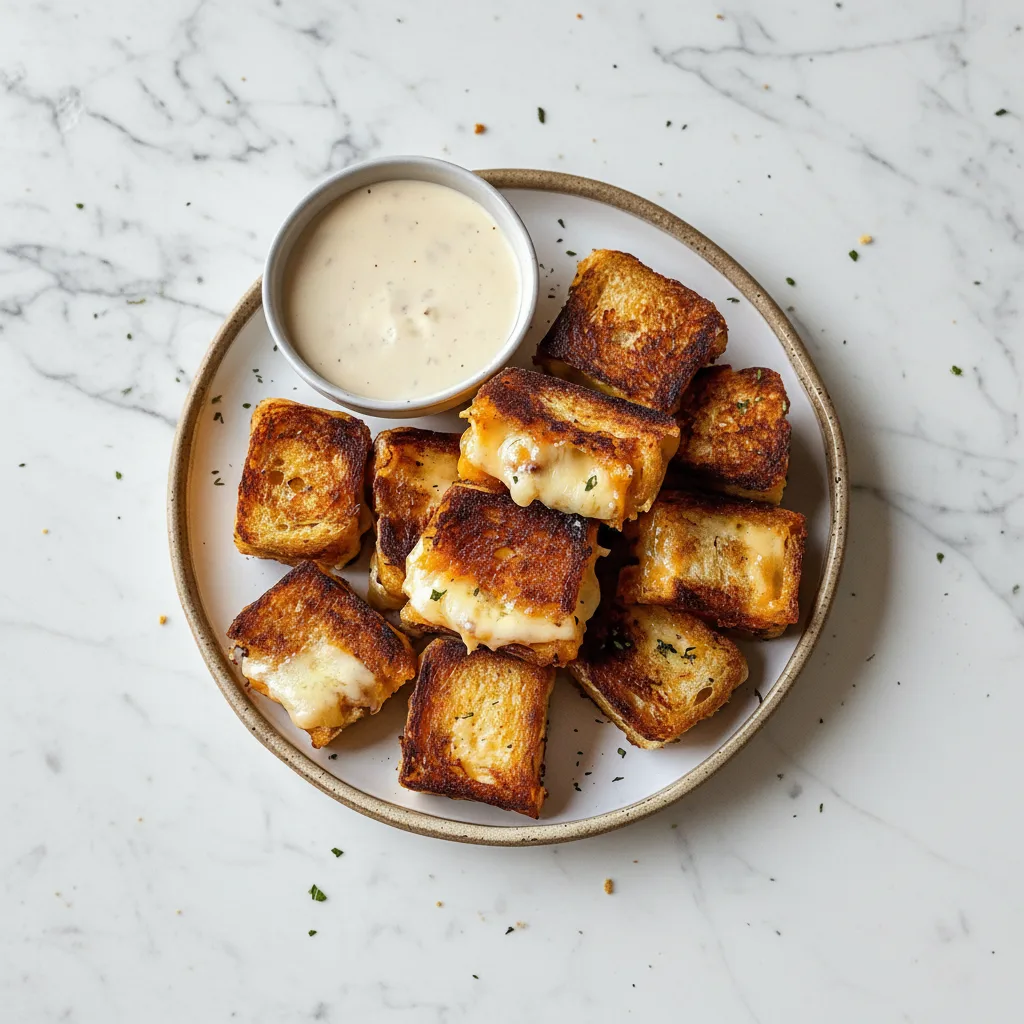
Why You’ll Love This Grilled Cheese
Great recipes solve problems: hungry families, tight schedules, and picky eaters. Hawaiian roll grilled cheese rises to every challenge. First, it uses affordable ingredients you might already have.
Second, assembly takes under five minutes. Third, it delivers the perfect balance – crispy exterior, soft interior, and gooey cheese center. Fourth, it pairs beautifully with other favorites. Try it alongside a quick potato soup for ultimate coziness.
Key Benefits
- Quicker than traditional grilled cheese
- Satisfies adults and children
- No special cooking skills required
- Uses minimal cleanup tools
- Versatile base for many variations
Recipe
Print
15-Minute Hawaiian Roll Grilled Cheese
- Total Time: 18 min
- Yield: 2 servings 1x
Description
Sweet Hawaiian rolls transform into gourmet grilled cheese with melty Monterey Jack in this 15-minute comfort food classic.
Ingredients
- 4 Hawaiian rolls
- 1 cup shredded Monterey Jack cheese
- 2 tablespoons unsalted butter
- Optional: Sliced tomatoes
Instructions
- Slice the Hawaiian rolls in half without cutting all the way through.
- Preheat a non-stick skillet over medium heat and butter the insides of each roll.
- Place the bottom halves of the rolls on the skillet and fill generously with cheese.
- Press down slightly with the top halves.
- Grill until golden brown, about 3-4 minutes per side, flipping carefully.
- Once both sides are crispy and cheese is melted, remove from heat, slice, and serve hot.
Notes
- For crispier results, use mayonnaise instead of butter on exterior
- Serve immediately for best cheesy texture
- Customize with your favorite cheese blends
- Prep Time: 10 min
- Cook Time: 8 min
- Category: Main Course
- Method: Stovetop
- Cuisine: American
Nutrition
- Calories: 420 calories
- Sugar: 6g
- Sodium: 680mg
- Fat: 24g
- Carbohydrates: 36g
- Fiber: 1g
- Protein: 14g
Ingredients and Substitutions
Four ingredients make this sandwich pop. Let’s explore each one and possible swaps.
The Foundation
Hawaiian rolls create the ideal base. Their subtle sweetness balances savory cheese, while their softness ensures quick melting. Can’t find Hawaiian rolls? Substitute slider buns or dinner rolls. Brioche works in a pinch but watch closely – it browns faster.
The Cheese
Monterey Jack brings mild tanginess and superb meltability. Substitute with mozzarella for stretchiness or mild cheddar for sharper flavor. Provolone adds an Italian twist, while pepper jack introduces gentle heat.
The Fat
Butter creates the ultimate golden crust. For dairy-free options, use plant-based butter spreads. Mayonnaise works too, yielding extra-crispy results. Avoid olive oil – it burns before rolls properly toast.
The Extras
Add marinara for dipping to mimic pizza flavors. Consider thin tomato slices when in season, adding fresh acidity. Other great additions include caramelized onions or cooked spinach.
How to Make Hawaiian Roll Grilled Cheese
Follow these foolproof steps for perfection every time.
Step 1: Prepare Your Rolls
Slice your Hawaiian rolls horizontally. Keep top and bottom halves intact. Butter insides generously for maximum browning.
Step 2: Heat the Pan
Preheat your nonstick skillet over medium heat. Test readiness by flicking water droplets – they should sizzle gently, not evaporate instantly or splatter wildly.
Step 3: Assemble the Sandwich
Place buttered bottom halves in the skillet. Distribute cheese evenly across them. Lower top halves gently, butter-side up.
Step 4: Grill to Perfection
Cook 3-4 minutes until bottoms turn golden brown. Press down lightly with a spatula halfway through to encourage melting. Flip carefully using two spatulas, then grill the second side another 3-4 minutes.
Step 5: Serve Immediately
Transfer the grilled rolls to a cutting board. Slice between individual rolls with a serrated knife. Serve immediately when cheese is at peak gooeyness.
Pro Tips for Success
These professional tricks guarantee better results for everyone.
- Use room-temperature butter for easier spreading
- Shred cheese from blocks – pre-shredded contains anti-caking agents
- Cover skillet with a lid briefly to accelerate cheese melting
- Don’t overcrowd the pan – make sandwiches in batches if necessary
- Clean skillet between batches to prevent burnt bits sticking
Flavor Variations
Take your grilled cheese to new destinations.
Italian Twist
Replace Monterey Jack with fresh mozzarella and provolone. Add basil pesto between cheese layers. Serve with marinara dipping sauce reminiscent of lasagna soup flavors.
Southwest Style
Mix in pepper jack cheese with cheddar. Stir cooked black beans into the cheese blend. Top with avocado slices after cooking.
Breakfast Edition
Slather insides with cream cheese before adding shredded cheddar. Scrambled eggs make it hearty. Serve alongside fresh fruit salad.
Loaded Comfort
Add cooked shredded chicken mixed with buffalo sauce. Drizzle ranch dressing after grilling. Pair with celery sticks for crunch.
Vegetarian Delight
Layer roasted mushrooms and caramelized onions under cheese. Spread hummus for extra creaminess. Serve with cucumber salad.
Serving Suggestions
Balance richness with smart companions.
- Creamy soups – potato, tomato, or broccoli cheddar
- Fresh vegetables – carrot sticks, cherry tomatoes, snap peas
- Light salads – garden salad vinaigrette or fruit salad
- Flavor boosters – garlic dip, marinara, sweet and sour sauce
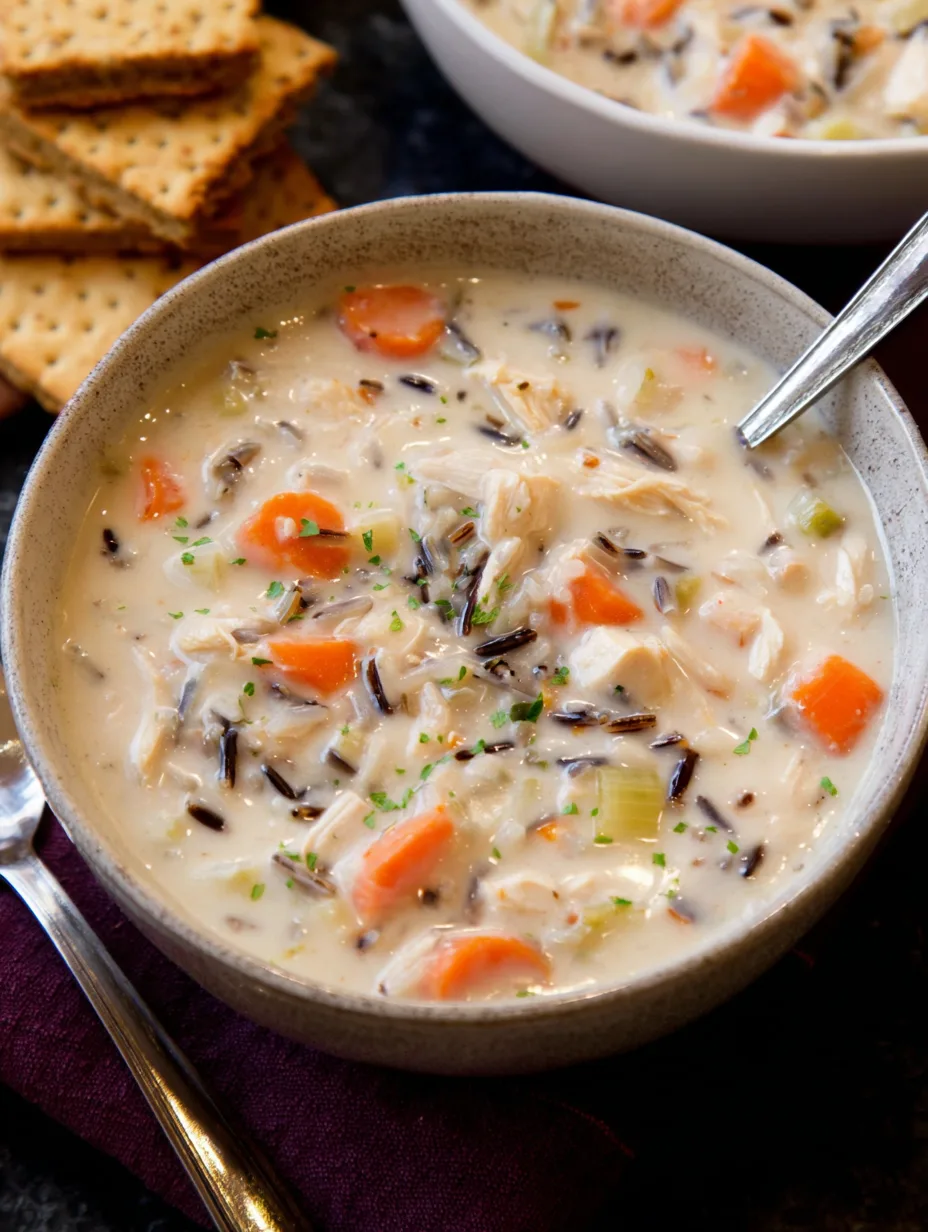
For soup pairing ideas, consider our taco soup collection with complementary textures.
Storage and Freezing Instructions
Grilled cheese tastes best fresh, but here’s how to manage leftovers.
Refrigeration
Store cooled sandwiches in airtight containers up to two days. Reheat gently in a dry skillet over low heat to restore crispiness.
Freezing
Wrap cooled sandwiches tightly in plastic wrap, then foil. Freeze up to one month. Thaw overnight before reheating skillet or air fryer.
Reheating
Avoid microwaving – it creates sogginess. Toast frozen sandwiches directly on medium skillet until warmed through.
Nutrition Facts per Serving
| Calories | Fat | Carbs | Protein | Fiber | Sugar | Sodium |
|---|---|---|---|---|---|---|
| 420 | 24g | 36g | 14g | 1g | 6g | 680mg |
FAQs About Hawaiian Roll Grilled Cheese
Can I Make This Ahead?
Prepare the sandwiches ahead and refrigerate up to six hours before cooking. Wait to butter rolls until cooking time to prevent sogginess.
Can I Use Different Cheese?
Definitely! Choose cheeses with excellent melting qualities. Avoid hard cheeses like Parmesan unless blended with softer types.
How Do I Prevent Burning?
Control skillet temperature religiously. Adjust lower if browning too quickly. A heavy-bottomed pan distributes heat more evenly.
Can I Bake These Instead?
Yes. Arrange assembled sandwiches on a baking sheet. Bake at 375°F (190°C) for 8-10 minutes flipping halfway.
Why Are My Rolls Soggy?
Three main culprits: too much butter, overcrowded pan, or inadequate heat. Ensure proper skillet preheating and sufficient space between sandwiches.
Final Thoughts
This Hawaiian roll grilled cheese redefines quick comfort food. It transforms humble ingredients into something extraordinary through clever technique. Keep rolls and cheese stocked, and you’ll always have emergency meal solutions.
Perfect for lazy Sundays, busy weeknights, or unexpected guests, it’s proof that brilliant food doesn’t require complexity. Happy cooking!